T-Shirt + Tailored Shirt = Stylish Up-Cycle Top
- Mar 12, 2020
- 5 min read
Updated: May 28, 2022

It’s ‘SEW MUCH FUN’ when fabrics just fall together both in selecting and stitching…and that is exactly the story of this new top.
Once I decided on which fabrics to actually use in this garment, the rest was easy.
To start off, I’ll share with your photos of the fabrics that I was considering to use in addition to the base which was a man’s XL T with a stripe ‘texture’.

Here is the short sleeve men’s T-Shirt with which I started as my base. I always scour not only my hubby’s closet, but thrift stores and clearance racks in men’s departments. Why? Because I feel strongly that men’s clothing has generally better quality fabrication than women’s. Why? Because I think that men hang onto their clothes longer – which demands better quality fabric – but that is just my own observation/conclusion..
A ‘dive’ into my blue stash yielded what you see in the photo below, a hunk of rayon knit leftover from a gift I’d made my daughter, another old T-Shirt, and a blue men’s tie. In the same photo, you can also see a ‘line drawing’ that I’d screenshot from the Vogue pattern website. I often work design-wise by being ‘inspired’ by something that has already been designed (pattern, or photo of a finished garment – usually online), rather than thinking it all up from scratch. Here, my inspiration is a Kayla Kennington pattern with Vogue: 9301. I just liked the division of space as designed in this pattern. I’ve inserted the line drawings from this Vogue 9301 below. It’s crazy wild wonderful to be able to find this type of inspiration right online! Be sure to learn how to do a ‘screenshot’ on your computer so that you can save anything you see online for your own printing and reference as design inspiration! I wasn’t completely ‘sold’ on this combination, so it hung around in my studio for a few days while I tried to ‘like’ it – which never happened. The base T-Shirt is a unique green-bluey aqua color which was kinda hard to work with.


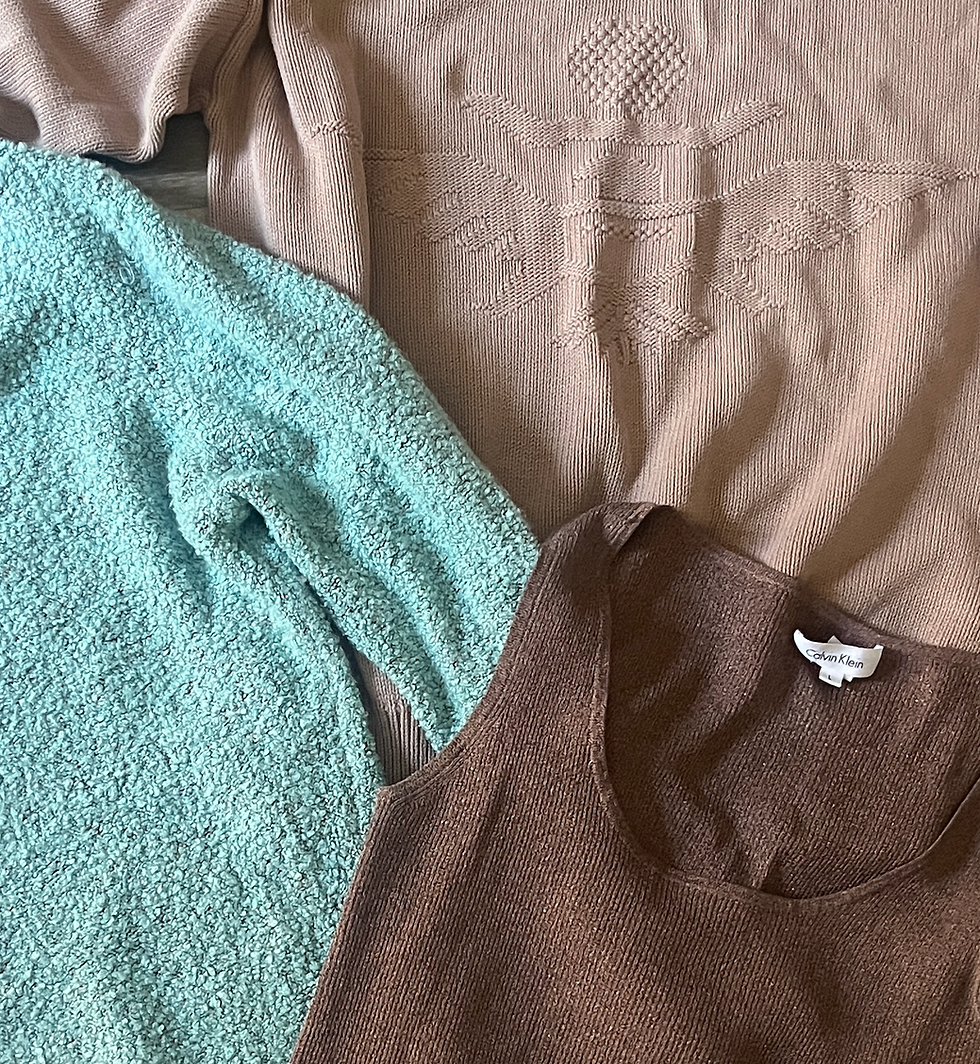
Another ‘dive’ into my stash yielded these additional pieces: A rayon/poly tailored man’s shirt (seen on the left in the pic below), an embroidered sweater from my Aunt. You can see that I kept trying to use that print knit hunk of fabric – but at this point, I was realizing that it was ‘talking’ too much – pulling too much attention. However, the small windowpane type silky man’s shirt seemed to blend with the base T quite nicely. I let that this combination hang around a bit, and finally decided to consider just that shirt as fabric #2, adding a solid grey jersey knit to it for fabric #3. As a rule, I like to use an odd number of fabrics in a garment.


With my fabrics decided, it was time to cut a new neckline from a pre-made garment. I make it easy for myself by folding the garment in half, matching shoulder seams to establish a center front and center back. For this up-cycle, I had decided on a boatneck style neckline.
This picture shows that process. The shoulder seams are at the center left , center back at the lower side of the picture and the center front (lower line, therefore more depth cut off) is at the upper right of the picture. I wasn’t sure if I would use the original ribbing, so I hung onto it for a spell. I always keep a basket where I carefully store potentially important ‘parts and pieces’ – as when I get creating, it gets quite messy.
The next step is to cut the Front and Back from the available ‘fabric’ of the original shirt. Of course, I use my base top pattern, own pattern: Londa’s Terrific T Top which I’ve made more sturdy by fusing it to fusible interfacing. The 2nd picture below shows the angle at which I cut the lower front. This line is definitely higher than the inspiration Kayla Kennington pattern line drawing, but I liked it.


The remainder of the design and construction was lots of fun, and when I get on a ‘roll’, sometimes I forget to take pictures – which is what must have happened with this garment. I do remember the tailored shirt ‘talking’ to me and it was fun to make use of different parts of it. I do remember that I toyed with using the collar – inserting it in the bodice to lower portion seam….but ‘When in doubt, leave it OUT’ is always my default rule for creative sewing.
To create the ‘pattern pieces’ for the lower portion, I just had to measure the top lower edge, as you can see I did here. That, sketched into a slight curve, and flaring out at the hem to the length as desired is really a ‘by guess and by golly’ procedure. My only rule: always cut things wider and longer than I think I’ll need, as one can ALWAYS cut it smaller/shorter. A dress form is absolutely a MUST for this kind of sewing. I use my Duct Tape Double – as I shared in my last post HERE.


As I played with deciding what should go where, I knew that I would need to repeat the grey knit jersey in other places. You can see that I did that by using it to bind the neckline, and as rolled kit trim at the sleeves.
With all of that decided, I turned back to playing with the tailored shirt’s fronts and played with them to come up with how to utilize the portions of the shirt as much as possible without losing the concept that it was a re-cycled man’s shirt. I decided to use the right front of the shirt (button side) for the right back as you can see below.
I really liked how the fabric falls – really a bias effect, down from this angled line to the hem for this ‘shirt’ part of the lower garment.
For the right lower front, the back of the shirt was ideal, and you can see the same bias draping effect.
The photo above also shows the small tuck I took in the upper section. Why? It just needed it. That’s the fun part of this kind of sewing – making your own decisions.


At the right side seam is an overlap of the lower hem of the right side of the shirt front lapped over the right front. I did stitch these together, and added a button from the shirt at the hemline.
The ‘button’ idea ended up then as a ‘rhythm’ element, something they eye hits on and follows around the garment, giving it a cohesive design theme. See that I added a shirt button at each sleeve to top off the jersey lengthwise curled strip. I simply left some length of the strip when I started at the outermost spot on the sleeve, worked my way around, then ended at the same place, again leaving some extra length to just ‘hang’ and then topped it all with a shirt button.
I do really like this garment, and especially the irregular hemline as the shirt pieces worked out.
As the weather here in TN turns typical sunny and warmer, I’m looking forward to wearing it.
I strongly encourage you to give this type of sewing a whirl. It’s truly inexpensive using ‘old’ garments and pieces from your stash!
I’ll be happy to get to start to wear this creation as soon as the weather warms up.


Comments