Memento Top
- Mar 24, 2021
- 3 min read
Updated: May 26, 2022
This garment is one of my favorites - and truly got me into sewing with garments from the past - in this case a grey silk T of my late Dad's, and a 2 piece knit ensemble of my late Mom's. My Dad's birthday is coming up 3/25, so when I saw it hanging in my closet - it made me think of him. I actually wore this to our daughter's wedding - so her Grandma and Grandpa were 'there' in a way.

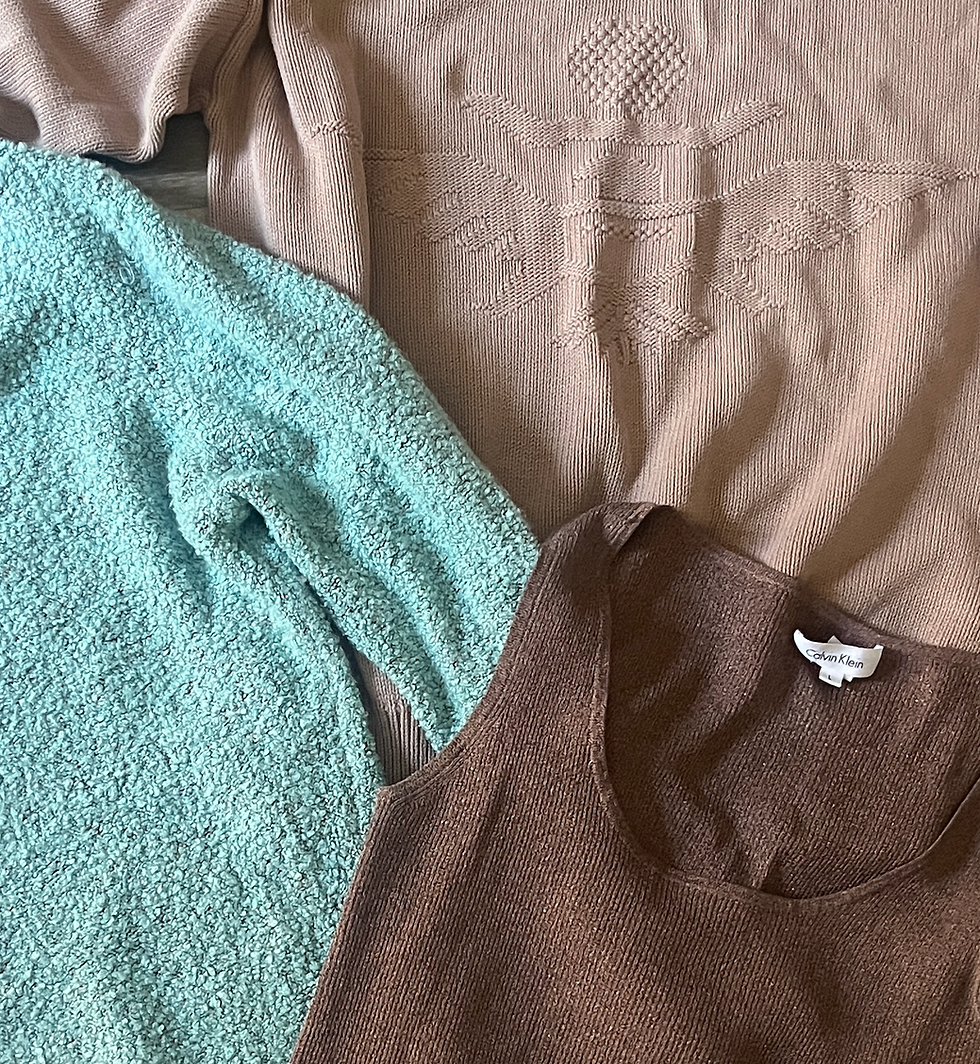
See above the unique trimmed 2 piece knit ensemble of my late Mom’s that intrigued me for a re-cycle, up-cycle project. I find it very very useful to have some type of dress form – even if NOT exactly ‘you’. It is important to able to drape and stand back and ‘asses’. The process of this re-cycle garment was both easy and challenging. I didn’t take as many photos as I should have, but I think you can learn from the ones i DID take…. So here goes:
INSPIRATION
Trim on the knit 2 piece dress. There was quite a bit of it all together so that was encouraging.
The magazine cut-out showing a longer tunic type top with a draped collar and asymmetric design. That photo led to my taking the skirt and draping it up the front at an angle as seen on the final top.
The great antique button options I found in my stash
Dad’s lovely XL silk knit top that seemed to blend well, and could be the ‘base’ of the garment.
DRAPE TO MAKE IT WORK

At this point I had cut the grey T-Shirt of my Dad’s down to ‘my size’ using my Terrific T Knit Top Pattern as the ‘base’, cutting it a bit longer on the Front and Back and using the existing lower hemline as the ‘new’ hemline as well.
A cut up the center back of the skirt allowed me to play with it on the front. It was fun to decide to create an accent at an angle up the front using the trimmed lower skirt portion. The excess drape as shown in the inspiration photo just ‘happened then, at a ‘length to match the front neckline. To attach it to the front neckline and shoulder of the grey ‘base’, see the clip that was necessary at each inner neckline edge.

Very careful ripping of the original mock turtleneck of Dad’s grey top yielded just the right amount of ribbing to bind the garment neckline after the Back and Front were joined at the shoulders.

The image above shows the drastic angle of the lower right front. Initially, I didn’t have any of the nude knit fabric at the right backside. That development came on the next day. Oftentimes, I find I have to
STEP AWAY FROM THE PROJECT.
LET THINGS ‘SETTLE’ AND COME BACK ANOTHER DAY WITH A FRESH PERSPECTIVE.

MAKE EASIER DECISIONS AND EXECUTE
When struggling with the backside, I HAD decided to use the hemline area of the ensemble’s TOP to create a yoke. Adding a seam at the center back created the shape. Commit to something and EXECUTE! You canNOT make all the decisions at one time.
REALIZE YOU WILL NEED TO CUT INTO THE ‘FABRIC’ OF THE RE-CYCLE GARMENTS
BEFORE YOU CAN POSSIBLY KNOW EVERYTHING.

Trim – any type of trim, couched yarn, etc. can be creatively used to ‘hide’ imperfect areas. The left image above is the right side seam where the back lower right section meets the right front and tucks at the side seam. After trying several times to get the bulky area matched perfectly, I gave up and ’embellished’ it! Bet you thought that was planned.
Likewise, one of those inner front neckline clips didn’t get totally covered with the neck binding. Again, a bit of the trim conceals it perfectly. I use monofilament thread in the needle to attach these trims by machine.


Comments