Designing a NEW Shirt from 3 Old Shirts
- Jul 20, 2022
- 5 min read
I'm totally 'hooked' on up-cycle sewing - a VERY healthy, INEXPENSIVE and frugal pastime!
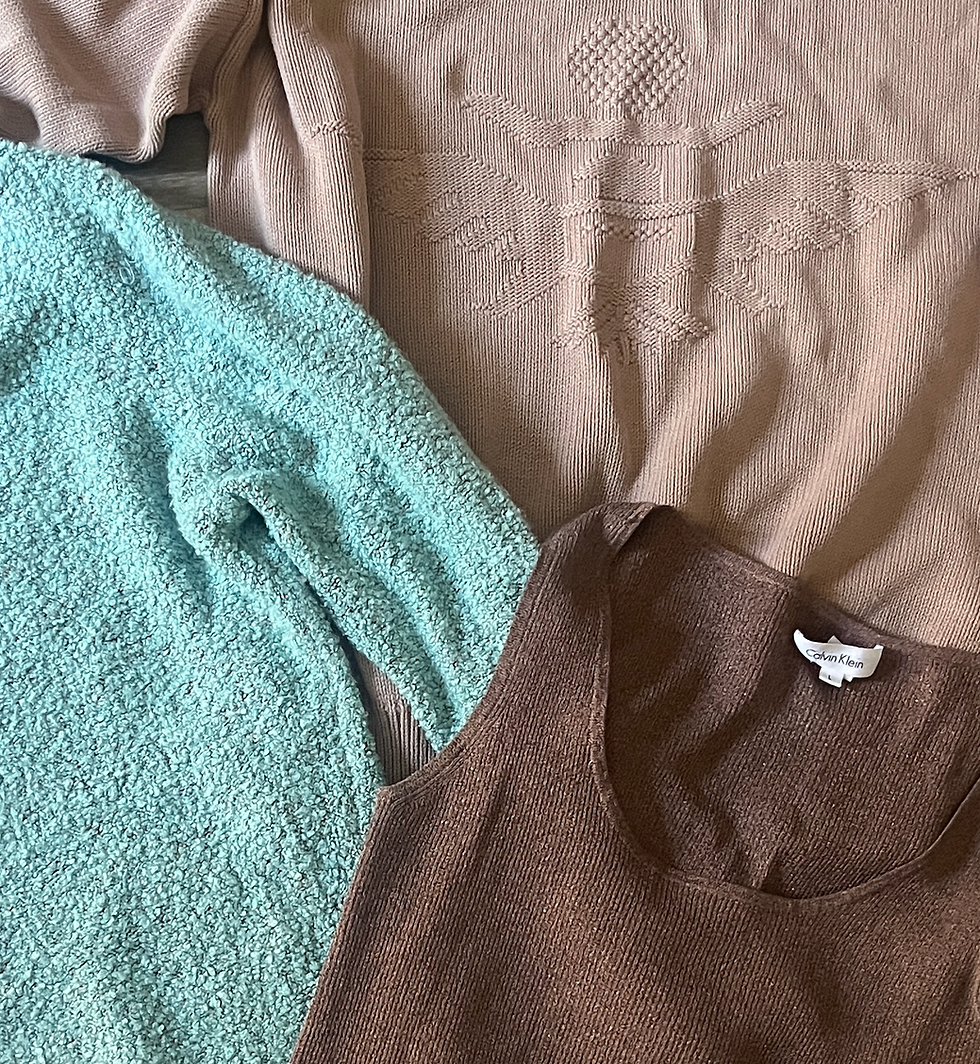
These 3 shirts below had problems as you can see....


In days gone by, I can remember my Mom and Grandma 'turning' collars' to solve the worn edge issue as shown in the center photo above. My hubby and I (since I did all the ironing weekly) LOVED the blue/brown plaid shirt - but somehow he managed to get this glorious rip in the front! Honestly, I don't know where the solid periwinkle blue shirt came from, and sadly, took out the sizing labels before I got seriously started. Nonetheless, from measurements of my finished garment, I'm calling this a size XL and have it for SALE in my A Londa Original category.
Below is my finished shirt after hours and hours of designing and stitching.

To begin, I wasn't actually sure if I was going to layer fabrics on top of the solid periwinkle shirt, or to just piece things together on top of the yoke on down. As it turns out, I opted for the first plan - as it just seemed easier. Below is a photo that shows the inside and the ample 'quilt stitching' to unify the two layers of shirting into 'one'. This was especially important since I was placing many of the pieces on the 'bias' or at an angle that would have stretched out like crazy if it weren't firmly stitched to the base shirt - see the 2nd photo below.


Here are some snapshots of some of the 'design process' through which I traveled...

Above, note that I was playing with large hunks of the shirts, placed diagonally to create the vast part of the shirt back. See also up at the yoke, some 'play' of the collar and cuffs used in unique ways.

Above, if you look closely, you can see that I had 'committed' to stitching down the left back yoke dobby shirting, the right back large windowpane shirt, and the large piece of the windowpane shirt. I quilt stitched with white thread in the needle, periwinkle thread in the bobbin.
LESSON - or at least WHAT I've LEARNED... I MUST decide as I work along. There's NO WAY I can plan everything out at once. That's my best advice, play, DECIDE, then STITCH...part by part by part. Yes, I DO UN-STITCH at times, but not very often.
I got 'stuck' at the above point, because I wasn't sure how I would do the construction of collars setting UP, and then laying down on the back yoke, and how to finish off the neckline???? I'm blessed in that I have MUCH going on in my Sunroom Sewing Studio teaching others, and many other passions, so I don't feel compelled to force myself into sewing constantly, but rather take several day 'breaks' during the process. That is turning out to be quite valuable.
At this point, I was starting to think about the collar. I had the idea of making it stand at the neckline as you can see. At the left as you look, I even played with pleating in some excess...that didn't 'end up' the way I went. You can also see pockets - which ultimately got left OFF. My mantra proved true and to which I held: "If in doubt...leave it OUT!"

In the photo above, you might be able to see the left lower hemline (as worn)....I love this idea, using the sleeve/cuff as a vent at the side. Here's how it turned out. It can be worn buttoned up to be a slimmer, closer-fitting silhouette, or open for some expansion.

And while I'm sharing hemline, here is the other side finish....

I love 3/4 length sleeves, and as I am designing/stitching most of the garments for SALE, that makes for an easy 'fit'. You can see that I bound the sleeve's lower edges. I like to execute this by stitching the right side of the bias binding to the WRONG side of garment using a seam allowance equal to what

I want to 'see' as the binding. Then, I wrap the edge tightly, turning under the remaining edge and stitch close to the edge. As I look at this closeup - I do think I am going to add brown shirt buttons (assuming I still have them) to those pointed vent areas on the sleeves as they look 'naked'.
Just went and added those buttons - which are unusually thick buttons - this was one TOP QUALITY shirt!
Speaking of sewing on buttons, I do it a bit differently so that it looks neat on the bottom...hiding the starting knot underneath the button on the top of the garment. At my YouTube Channel, find my HOW-TO's for both:
COLLAR FINISH
I really love this collar that I came up with, but I'll be the first to tell you that it was NOT easy!
Below, find good upclose photos of collar, both front and back. The button at the front actually DOES button.

This shot also shows you how I ended up using a cuff on the back yoke area.

It was quite interesting to cut into and find out the exact interfacing that was utilized in that blue/brown favorite shirt! I knew all along that it was a SEW-iin, NOT a Fusible interfacing. I kept a reasonable scrap of it so that I can try to search a source. It is the closest weave, STIFF interfacing fabric that I've ever seen! This shirt looked brand spankin' new despite being washed MANY times because the collar, cuffs, and front kept so nice and FIRM!

And....look closer! In the Collar Stand, you can see that this extra stiff interfacing was cut on the BIAS! I guess that helps it bend around the body. I didn't want to 'get into' the collar itself, but I have to wonder if it is cut straight or bias grain within the collar. My guess would be that it is on the straight grain. I'm ashamed of my nail's condition in the photo above - just ignore them as I am for now since I refuse to give up on my flower garden despite the drought! :)

Above, you can see that I chose to 'finish' off this neckline with a FRENCH BIAS - which means a bias piece cut twice as wide as you want it finished, plus two seam allowances. Press in half WRONG sides together. Match raw cut edges, stitch, trim, then stitch down that folded edge.....
(Check out that little triangle piece under the point of the collar that has a buttonhole in it for 'buttoning down' the collar without seeing the buttons! What detail.....
TRIMMING was a challenge to say the least - as with that heavy interfacing it was EXTREMELY thick and bulky!

The picture above shows just the start of this trimming. I actually used my favorite scissors for this - the Kai 5135 to get in between and clip out ALL of that interfacing from the seam allowance.
Below, you can see how I then stitched down that finished fold of the French Bias. At places, I hand stitched, but most of it is stitched down by machine through all layers. This construction makes the collar STAND at the neckline. I will also add that I cut the neckline lower at the front to allow for shorter necks like mine.


The right front of my shirt is really using the right front (with buttons sewn on) of the original shirt, so to 'close' the front, I carefully stitched on clear plastic snaps. I HATE sewing on snaps...HATE it! If I were going to keep this shirt, I'd have skipped the snaps altogether, and opt to wear this shirt 'open' with a cream-colored shell underneath.

Oh - one last thing, be assured that I DID wash these shirts before beginning, so all should wash/dry up easily, but I'm sure it WILL need a firm steam press to look its best.
ONTO the next upcycle - always many to choose from hanging around in my Sewing Studio!


Comments