Hooded Towels = Fun Sewing Project
- May 8, 2023
- 7 min read
Like myself, I know that many of my customers are Grandmas - and I hope I have a few young Moms who find time to sew as well. Sew... I figured sharing my latest projectS might be appreciated.
My youngest - a grandson turned 1 in Feb. and our youngest granddaughter, Shiloh, turned 3 in March and when racking my brain for what to create for her gift, I decided on hooded towels. Since we see our younger 4 'grands' only a few times each year I knew I needed to have gifts for the other two (7 and 5) as well, so I was challenged to create FOUR of them!
Below - I'll share some how-to's and how-NOTS, so that if YOU want to stitch some hooded towels up yourself, you can benefit from my 'experience'.
As you can imagine, these 4 are 'moving targets' to say the least, so what you see below is the best I could manage of the recipients in their towels.

Here's a slightly better picture of all 4 of them hung up in my Studio.

And my youngest sewing student was sweet enough to model the pink one for me...

As they 'wear' these, I was very happy that I decided to add elastic pony tail bands and big buttons to secure them for 'wearing' with modesty.

Below, see the original pattern that I utilized.
Simplicity 4817 from 2004. I had thoughts o making the Mitts as well - but honestly, the towels were enough work, that was enough for me!

Decisions and Towel Shopping
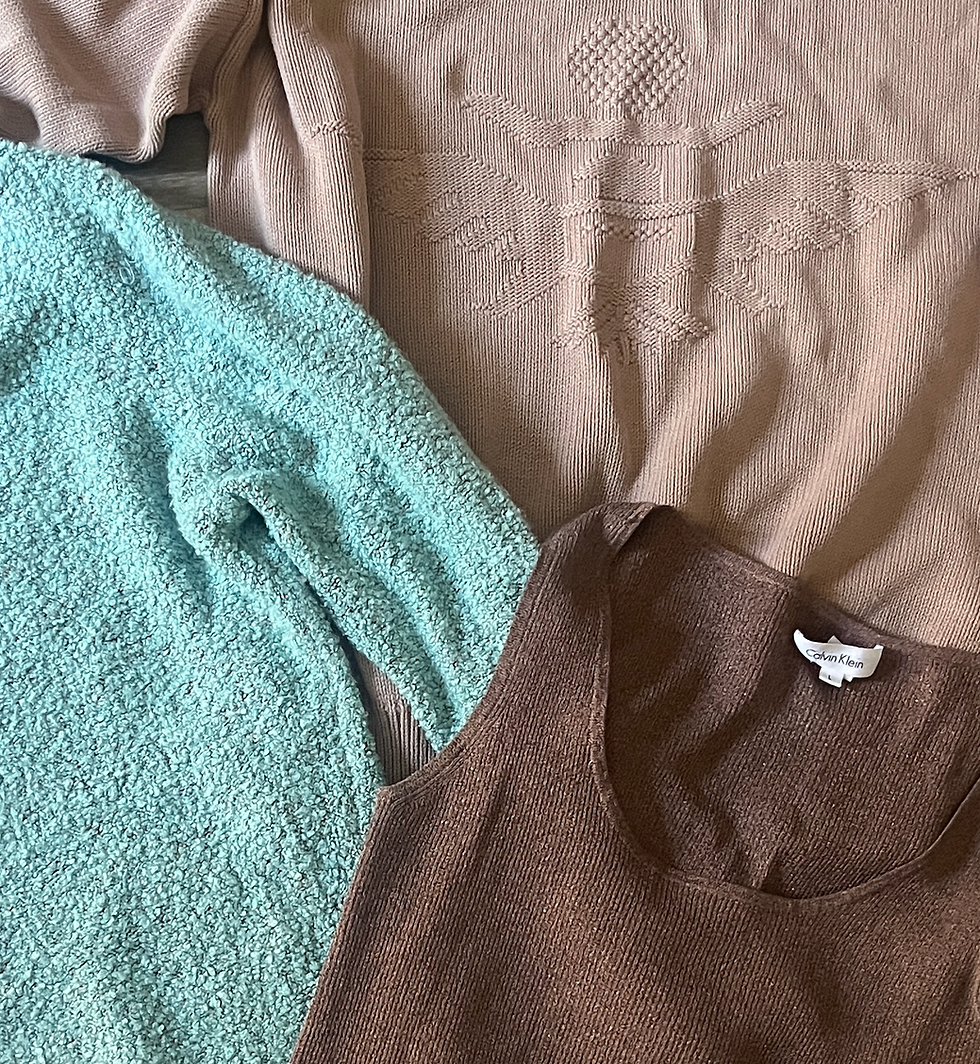
Actually, I'd made the oldest (7 yr old Kenzie) a Bunny version from this pattern years ago - which she long ago grew out of. (I didn't even ask if it was still 'around'.) For the 'animal choice', A Dinosaur was requested for the youngest (green towel), and since the girls all love Horses/Unicorns - I was more than happy to make the other 3 all in 'Pony ' format. For colors, I went with the 'designated favorite color' for each child. I try to shop local whenever I can, but I'm tellin' ya, that hot pink is NOT 'in fashion' for bathrooms these days, so I had to resort to Amazon. For the hot pink, the choice was only a set of 2 bath towels, but since I felt I needed to add to the length for that one, that was fine to have 2 towels.
The pattern calls for terry cloth, but there are VERY few colors of terry cloth yardage available at our local JoAnn's. Besides, using towels yielded finished edges and the added 'feature' of the bands on the towels. I purchased either 2 bath towels (which come in quite a variety of sizes, by the way!), or 1 bath towel and 1 hand towel to do each project. I serged the edges of the leftover towels and they have been added to my towels for 'emergency clean-up' back in my laundry room.
My Biggest Mistake
The eyes! I have no idea what I was thinking, but I just thought I had an entire selection of good, real 'eyes' that I could add at the end. However, after I FINALLY found them, I realized that they were screw in eyes with very long shanks that are meant for stuffed animals - and they'd never work for these fun bath towels. Therefore, AFTER I'd stitched them all up, I had to go back and maneuver all that bulk as I applique stitched on the eyes!!!
Below, you can see the bulk I had to manage when I added the eyes.... Sheesh!

These eyes are most definitely NOT perfect, but I full-well know (as do YOU!), that we are much, much more demanding on ourselves than anyone will ever care about!
I'm happy to have a large cupboard of color-organized cotton scraps where I went to 'shop' for the fabrics to create 'eyes' to match each grandchild's eye color.
I can assure you that I cut each layer of fusible web and 'stuck them together' before starting.
'Lightning Stitch' for Applique
One of the many things I learned during my shop days is that the stitch that goes STRAIGHT across and then at an angle, is truly much better for applique work than just a shortened length regular zigzag. I'm sure that came from one of the many machine expert guests that I had to my shop from the sewing manufacturers over the years.
Here's how that stitch looks on my Brother 'big' Innovis 6750D (Disney) sewing/embroidery machine. If your machine is 'sophisticated' and computerized at all, you just might have it as well...

And the settings as I adjusted them for width, length, and decreased upper thread tension.


And on the back - a tear-away stabilizer FOR SURE!
Below, you can see my 'charming' imperfection of the circular applique work. Some of you machine embroidery experts are thinking you'll use that capability - that'd be great. More power to you!

Details You Might Find Useful
Seam Finish - I'll admit it, I was just plain lazy. I didn't want to have anything but matching thread in a serged finish, so initially, I decided to just zigzag edges. NOT a good idea - as I imagine they will continue to 'shed' as they are utilized. When possible, I pressed the seam allowance one direction and topstitched them down. There are places where there is just MUCH BULK to deal with! Especially where the yarn/ribbon is stuck into the center seam.
Whenever possible, I made use of the already-hemmed towel edges as you can see below.

MANE CHOICES
The first towel I made was the purple one for middle granddaughter, Hadasah. When we go to visit, I pay special attention to what I take to wear - especially my jewelry, as all that MATTERS SO MUCH to this sweetie! She tickles my heart and I'm pretty sure she will be a sewer in the future!!! I am on a 'MISSION' to use up stuff I have in my Studio STASH as I sew these days, so this loopy, fuzzy purple yarn was perfect for the 'mane' on her pony towel.
Ribbon, cut in about 9" pieces and knotted in the centers creates the 'mane' for the other pony towels. You can see in the aqua towel above about the eyes, that to yield enough ribbon, I had to combine some choices to create enough 'hair'.
PATTERN PIECES
Since the pattern I used is so old, I feel it is OK to share them here. Doing so on a 1" grid should suffice should you want to make some of these hooded towels.

On the photo above, the furthest right hand edge is the edge that frames the face. I utilized a pre-hemmed edge of the towel for that edge - so it was straight.
The edges in the middle where 5 joins 4 is there for the ear insertion as you can see below. You completely create the ears, with an inner insert piece (see longest dashed line for the appliqued edge of the insert, turn, and stick them in placing as shown. If you want them thicker, you could even add some quilt batting.
HOWEVER, realize that the raw edges of the ear MUST ALIGN when you stitch this seam.
The uppermost and left side creates the top seam of the 'hood', where the ribbon or yarn pieces are placed (again, raw edges matching), so that they are 'stuck' in the seam, and stand up when completed.

Here is a 'layout' so you can see how the 'snoot', ears, and hood all go together.

NOSE PIECE /MOUTH/SNOUT
See the pattern piece below for that nose/mouth/snoot - whatever you want to call it that is protruding from the top of the hood. Go back and look at some of the earlier photos. You cut two of those. Stitch right sides together leaving an unsewn area through which to turn it along the top edge, pink the edge (easy way to 'notch' - see photo below) turn, and press.


The BAND (shown below), simply created by pressing in all the edges. Since it is curved, I cut this piece on the BIAS, which made that pressing easier.

To attach that 'mouth' piece, I butted it up against the front edge of the hood and zigzagged. Then, I laid the Band on top and stitched. Look close at the aqua and red towels above to see how I did that. For the NOSTRILS, I just did a ZigZag of about 5 wide and applique stitch length setting through all the layers. Looking at the picture of my student in the hot pink towel shows that the best.
DINOSAUR DETAILS
A Dinosaur version was not part of this pattern, so I searched the internet for a 'Dinosaur Towel and found one for sale - $40 (which truly, would have been worth every penny!). However, it wouldn't have been 'NaNa Made' - but finding this product did give me the 'instructions' of adding the teeth and spikes. I did put quilt batting in the spikes, but I sure did not make as many as are shown in the picture below! I DID add a tail, stuffed with fiberfill, but it wasn't real big, and didn't have any spikes.
The teeth were sewn right sides together and turned, also with quilt batting inside. I think they are kinda fun.
So - I'll post those pictures here below and call this Towel Sewing Project Blog Post done. Do comment below if you have any questions. If you give it a whirl, do send me pictures and I'll post them. You may be able to share those in the Comments as well. If you hit a 'snag', just contact me and I'll do my best to help you 'over the hump'. Having done 4 of these - it's pretty ingrained in my brain - at least for now.


Comments